How To Assemble Portable Staging – NexGen
Follow these steps for instructions on how to assemble portable staging.
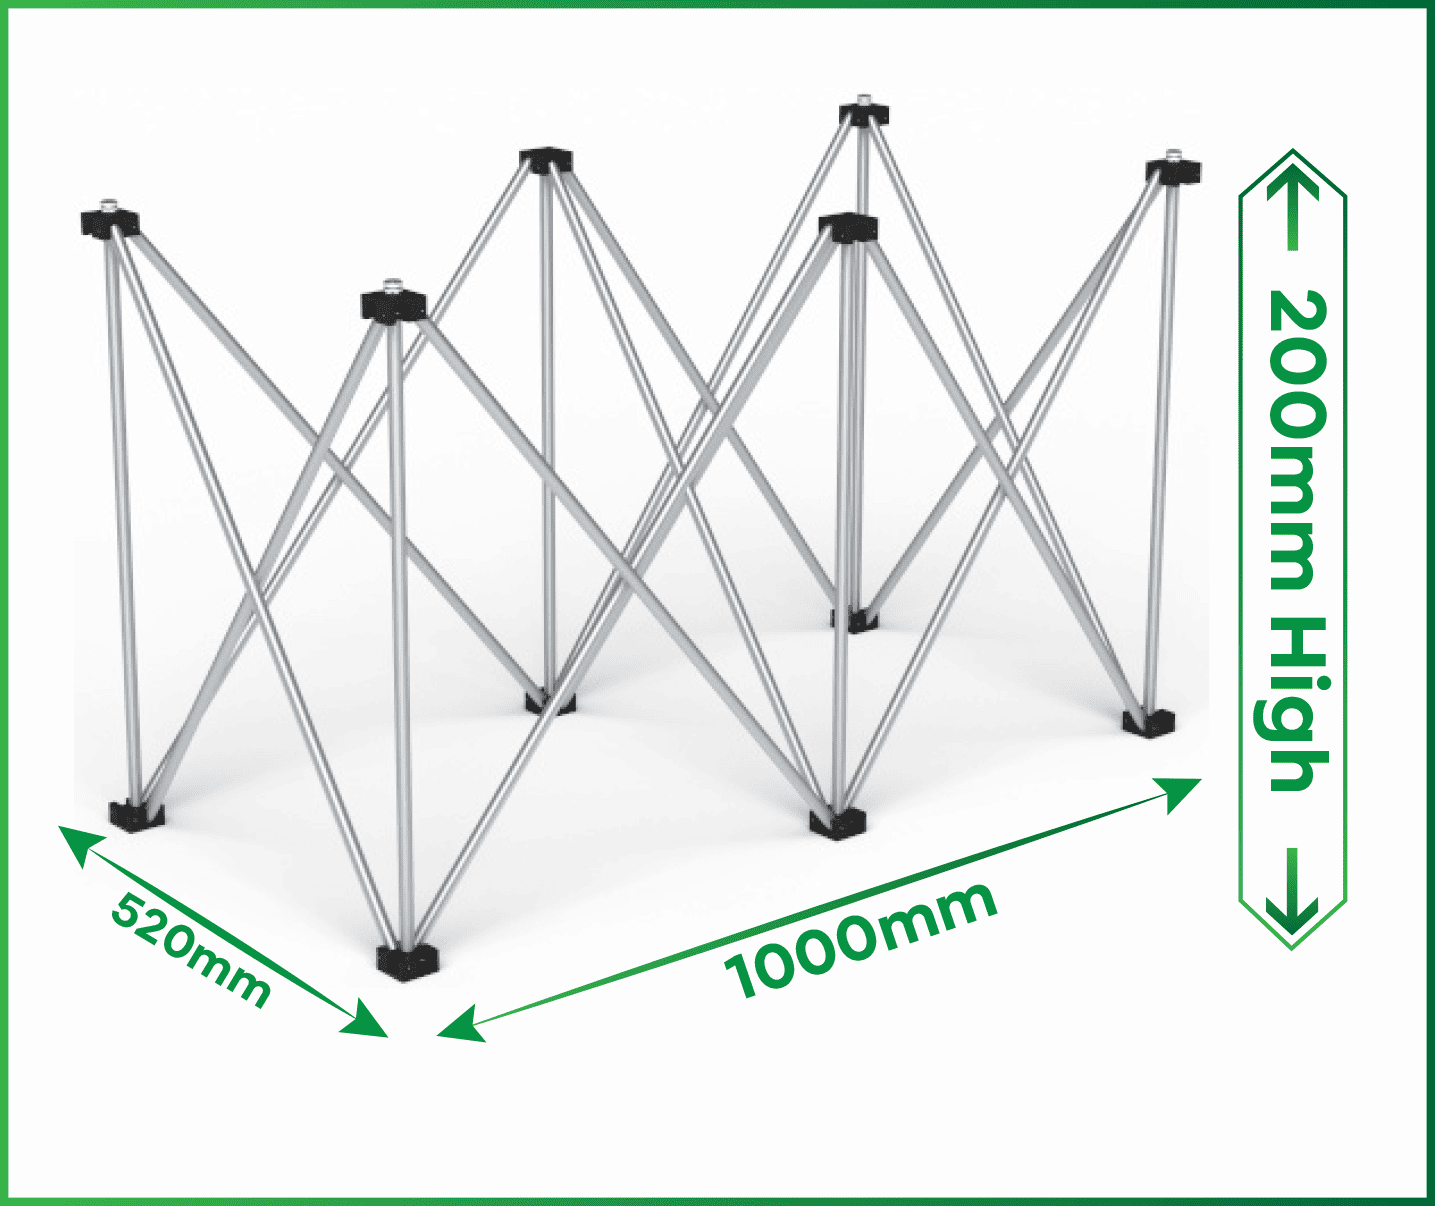
Firstly take all the riser legs from the storage trolley and fully open them. Do not open the risers in the air, as this will stress the tubes. The riser is at its strongest in the fully opened position, and opening the riser legs along the floor is the best way to keep them in good condition.
Place the riser legs in the performance area, and set out in the configuration you need. So for instance, setting up a 3x3m stage, would have 9 sets of riser legs, in rows and columns of 3. 
Take the braces from your utility kit, and place the 2 hole braces around the perimeter, and the 4 hole braces in the centre. The braces fit very snugly over the location pillars and flush to the black block.
You’ll now notice the entire configuration is fixed together and because it is very light weight, you can actually move the whole staging leg structure to precisely place it where you want.
Take the first stage deck platform and attach it to the 4 location pillars on the first set of riser legs. The deck platform will be strongly attracted to the riser leg location pillars, as the magnetic forces attract.
Important – Place the second deck platform in position, you’ll notice the sides closest to the first deck you attached, do not quite, slip into place over the neighboring location pillars. In order to tap the deck into place, you need to pinch the two vertical riser tubes together at the base, (see labels – on riser poles) grasp the two poles together and tap the deck platform down.  This will fix the Magnatech connections securely in place. (With brand new staging, you may need to use a big tap the first time.)
Repeat this process with the rest of your deck platforms.
If you are adding a step, take the smaller riser, and deck and place together, take the two velcro straps from the Utility kit, and attach them around the vertical tube and the desired stage tube position.
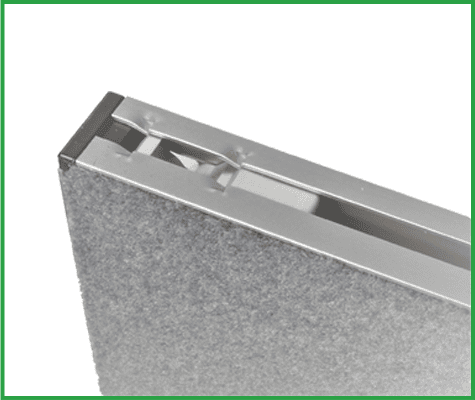
If you are adding Hardboard Fascia, take the clips from the Utility kit, and push into the holes on the board. Push these clips into the sides of the deck platform aluminium extrusion and screw the screw with a screwdriver or power tool, to securely fix the board to the stage. Repeat these steps around the sides of the stage. When adding the corner trims, simply slide down the corner cut outs.
Handrails, kick plates and other accessories instructions are provided with the items.
Explore our homepage to find additional resources, including our free PDF guide on Magnetic Staging and other innovative Portable stage solutions.
